AFFiNE 是类 Notion 的开源知识库工具,支持文档编辑,白板协作和AI助手。
官网地址:https://affine.pro/
GitHub:https://github.com/toeverything/AFFiNE
之前因为介意 Notion 的公有云服务,一直没有深入使用。有些重要文档资料使用群晖的 Note Station 保存在 NAS 上。直到发现了 AFFiNE。
与 Notion 不同,AFFiNE可以支持私有化部署。这篇文章记录一下我在自己的 Synology DS220+ 上部署的过程。
AFFiNE 服务端运行需要 PostgresSQL 和 redis ,官方建议使用 Docker Compose 来部署。正好借此机会在群晖 DSM 上实践一下用 Docker Compose 部署应用。
官方提供了私有化部署的文档:https://docs.affine.pro/self-host-affine。
下面是部署步骤
群晖 DSM 7 的 Docker 已经更新为 Container Manager,我们将在 Container Manager 使用 Docker Compose 来部署。
准备工作
- 下载最新的 docker-compose.yml 文件:
|
|
- 下载 .env 示例文件 default.env.example:
|
|
- 在 DSM 创建以下目录:
|
|
- 编辑第 default.env.example 文件,找到如下部分:
|
|
修改为:
|
|
- 将 docker-compose.yml 和 default.env.example 文件上传到 DSM 的 docker/affine 目录中,并将 default.env.example 文件名修改为 .env。
开始部署
在 DSM 启动 Container Manager,进入项目页面,点击新建:
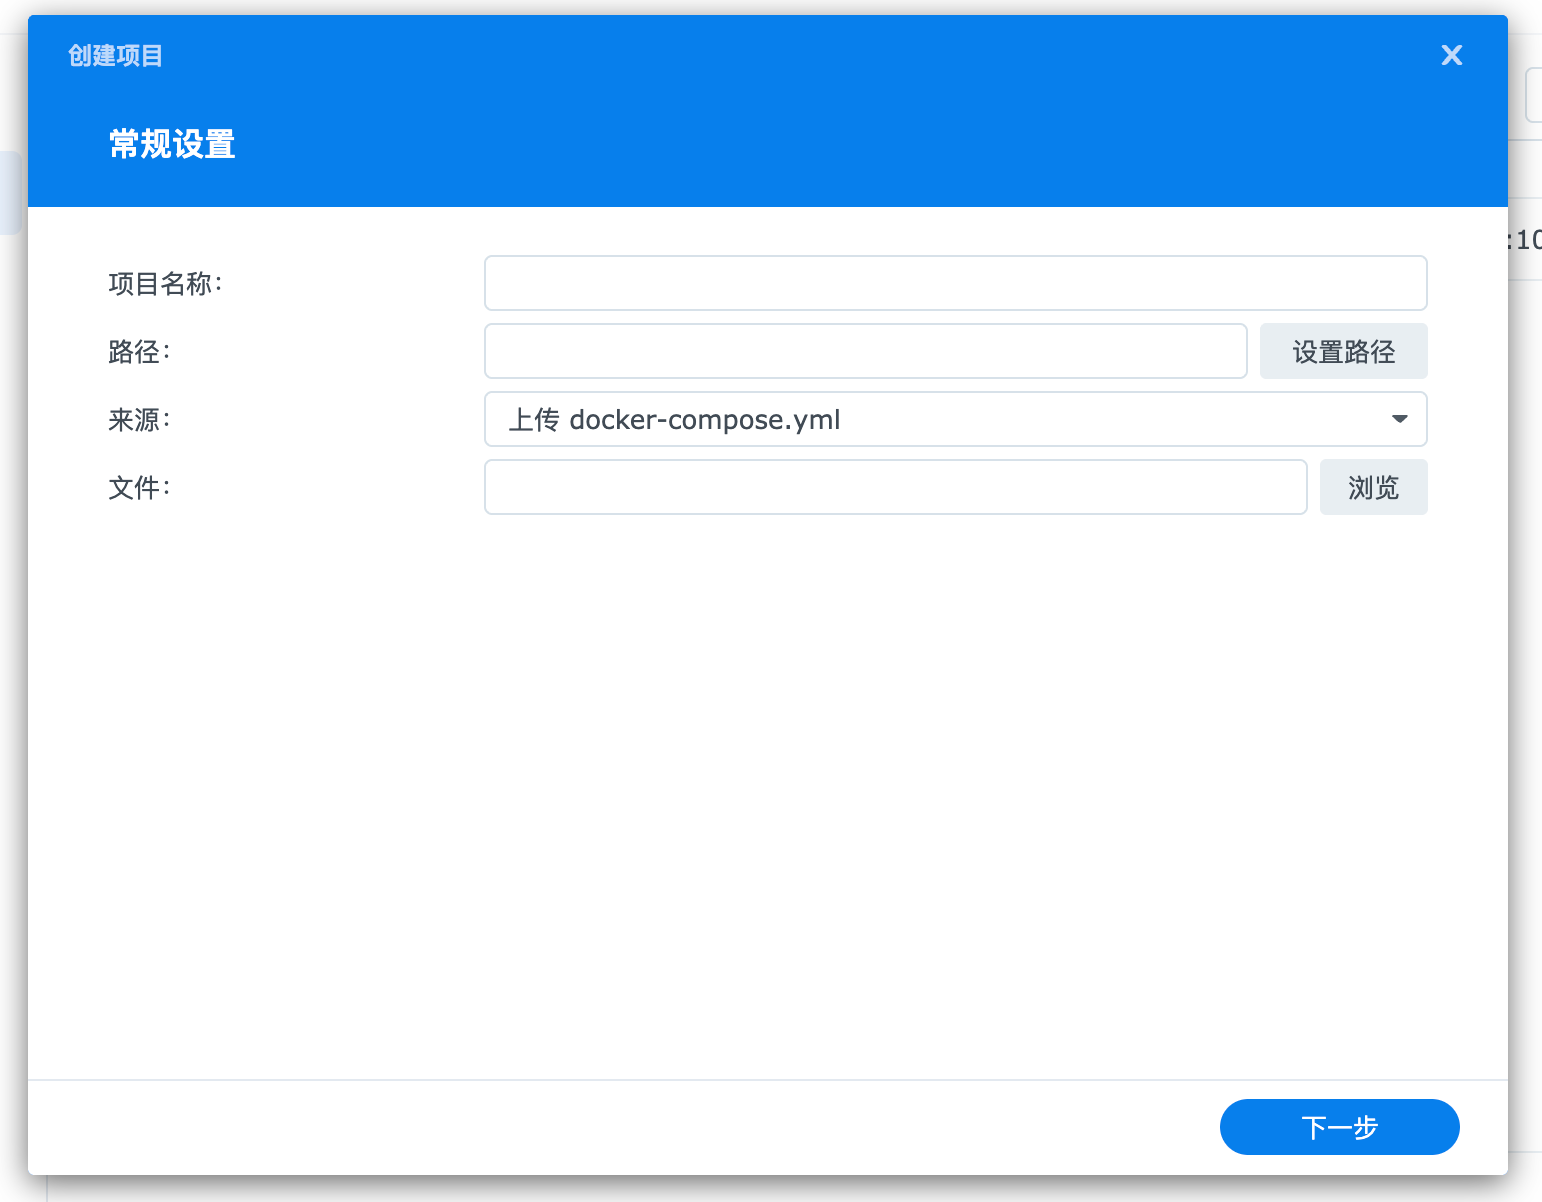
项目名称填写:affine
路径选择 docker/affine,如果前面的操作无误,应该会看到这个提示:
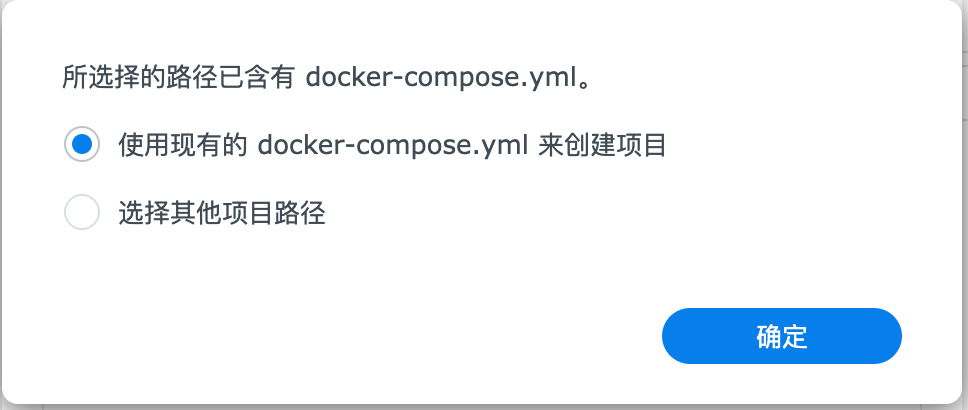
点击确定。之后一路点击下一步,最后点击完成。
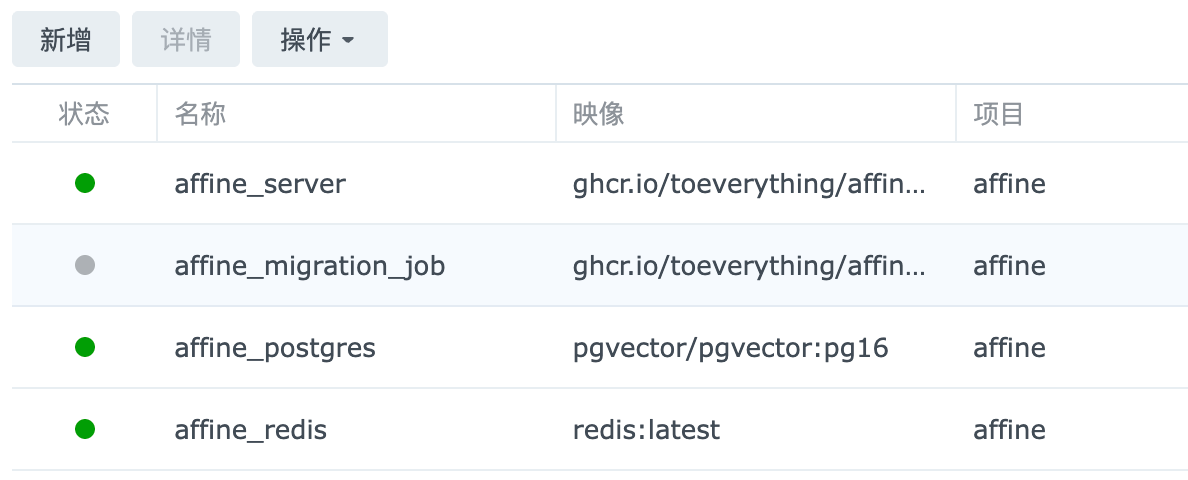
Container Manager 会开始拉取镜像并自动部署容器,这个过程视网络情况可能需要比较久的时间。
全部完成后进入容器页面,可以看到新增了4个容器:
部署完成。用浏览器访问 http://群晖IP:3010/admin,创建一个管理账号。然后在桌面或手机 App 上添加服务器 http://群晖IP:3010,就可以使用安全无隐私风险的自有主机云笔记了。